One of my favorite things to cook is meat of any kind. If you’ve ever been to my house for dinner, chances are you’ve seen me fill the kitchen with smoke as I sear, broil, or flambé. But that’s just what cooking meat is. You can’t be afraid to use some heat. Things can get intense–most of the time the process is not pretty, delicate, or cautious. It’s raw, gritty, and can leave you with a couple burns if you’re not careful. That being said, here are my tips for getting a perfect beef roast!
7 Steps for the Perfect Beef Roast: #1 don’t be afraid of the fat
I used to be, so I don’t judge. I’d buy a nice chuck roast and spend ridiculous amounts of time trying to carve out every bit of “extra” fat on it. DON’T DO IT! The marbling (intramuscular fat) in the meat and the surrounding fat is what keeps it juicy and tender! Think of it as the equivalent of adding slices of butter; it melts when heated and adds amazing flavor. It’s what protects the meat from drying out during the cooking process.
 7 Steps for the Perfect Beef Roast: #2 pat dry the roast for a better sear
Pretty self explanatory. (Just don’t use your fancy towels or anything, paper towels are the way to go here!) Extra water and moisture on the surface will keep you from getting as good of a sear.

7 Steps for the Perfect Beef Roast: #3 season generously
My go-to steak seasoning is a mix I buy at WinCo Foods (bulk section). It’s a combination of coarsely ground salt, pepper, and garlic. You can use whatever spices you like, just make sure it’s a coarse grind and that you use a lot. Since the roast is so thick, you need to have enough flavor on the surface of the meat for the whole thing. Make sure to rub in the seasoning and cover all sides.
Important note about salt: After reading “SALT FAT ACID HEAT: Mastering the Elements of Good Cooking” I’ve started salting meat the night before. It makes a huge difference in both flavor and texture as you give the salt more time to work on a chemical level and permeate and tenderize the meat.

7 Steps for the Perfect Beef Roast: #4 use the right tools
Since you will be using high heat, you need a pan that can easily stand up to it. And an oil that can withstand higher temperatures. Unfortunately, this means no non-stick pans or enameled cast iron, and no olive oil (it has a pretty low smoke point).
I am a little bit obsessed with my All Clad solid copper core, stainless steel pan. The heat distribution is amazing and it’s very solid.
Don’t be afraid of using stainless steel, if you do this right, I promise the meat won’t stick to it.
Stainless steel is the perfect tool for this job! As for oil, I am currently using grape seed oil (from Trader Joe’s). It has a very mild flavor and is a great stable oil for high temperatures. (Avocado or canola oil work well too.)
7 Step for the Perfect Beef Roast: #5 Preheat, preheat, preheat!
You know how baking instructions always tell you to preheat the oven? If you don’t, your baked goods don’t turn out as well (or at all in some cases). The same goes for stovetop cooking, especially if you have an electric range. Get your pan on the stove and turn it up on high. Add oil and wait 2-3 minutes for it to get smoking hot! It really takes a surprising amount of time to get the pan as heated as you need.
Also, bring the meat as close to room temperature as possible BEFORE cooking. I usually leave it covered with a paper towel for 30-60 minutes before searing.
7 Steps for the Perfect Beef Roast: #6 Sear on all sides
This is the fun, smoke-filled part of the process! (Make sure you remember to turn on your stove vent.) It usually takes about two minutes on each side to get the dark, almost crispy looking exterior. This will lock in all the juicy goodness and add a deeper dimension to the flavor of the meat.

(don’t forget the sides!)
7 Steps for the Perfect Beef Roast: #7 bake wrapped in foil with butter, garlic, and herbs
I am not a fan of scrubbing roasting pans, so I use lots of foil for this final cooking step. Line a roasting pan or even a glass pyrex dish with foil, then set two more sheets of foil on top (you will wrap the roast in this).
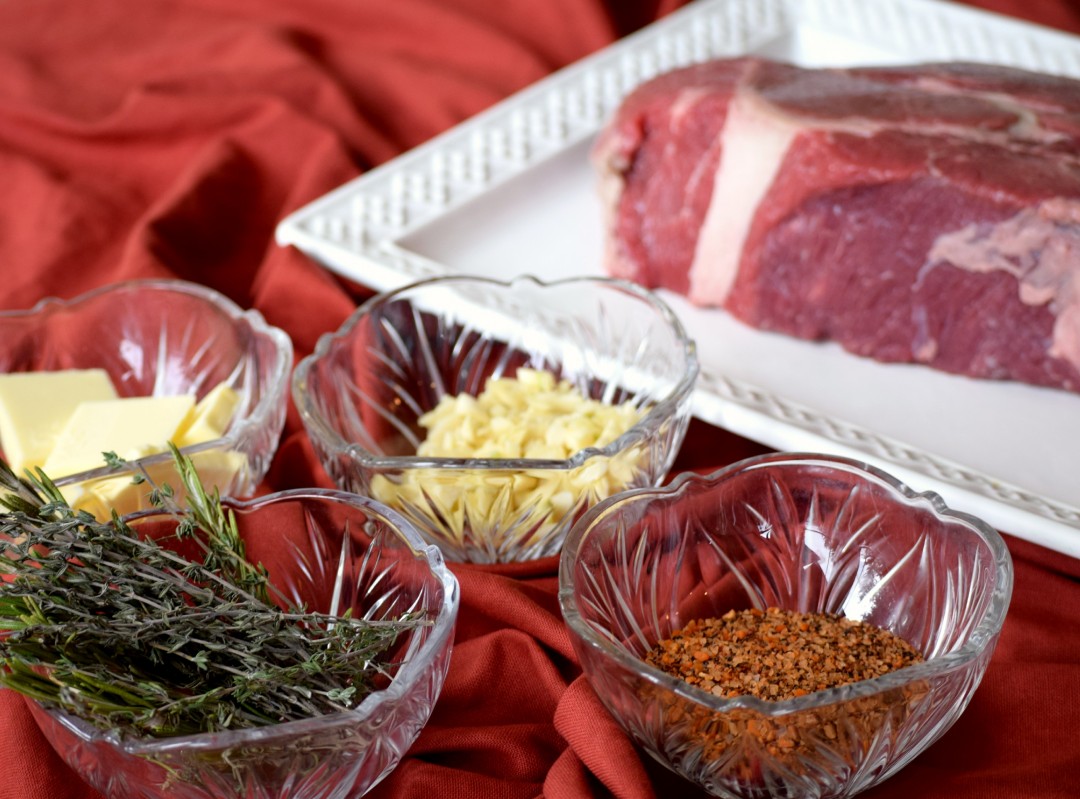
Next, arrange a few slices of butter, roughly chopped garlic cloves, and fresh herbs (I used rosemary and thyme) to set the roast on top of.
Transfer seared roast onto the foil-lined pan and wrap it tightly. Bake in the oven for 2 hours at 350°. If you want to put this in the oven earlier in the day, you can also roast at a lower temp (like 275°) for a longer period of time. Or, if you’re short on time, turn up the oven temperature and speed up the process a bit.


The final product will be a tender, melt-in-you-mouth kind of roast that is sure to be a crowd pleaser! The process is a bit more involved, but totally worth it. Especially if you’re trying to impress someone or are preparing a fancy, special occasion meal. I love to serve this beef roast with creamy garlic mashed potatoes and shallot and red wine cream sauce to pour on top. The flavors come together so perfectly.

Do you follow any of these steps when making a roast? Which of the steps would you want to try next time you do?
happy cooking,
Yuli


Hi Yuli, I might have missed it, but which roast do you use? Do you still use the chuck roast, just don’t trim it anymore? This looks delish and not overly complicated- something I might actually try 😉 Thanks for sharing!
Hey Olya! Yes, I used the chuck roast. But any cut that has good fat content would work! Hope you try it out! ?
wow girls… you are making the same steps for the perfect roast beef as I am making.. good job…
Oh yeah herbs such as thyme and rosemary are my favorite one….
On thing that I am doing differently is to rub with salt and pepper and marinate overnight…
Haha great minds think alike! I’ve heard that seasoning and letting that sit overnight makes a huge difference! I will have to do that next time!